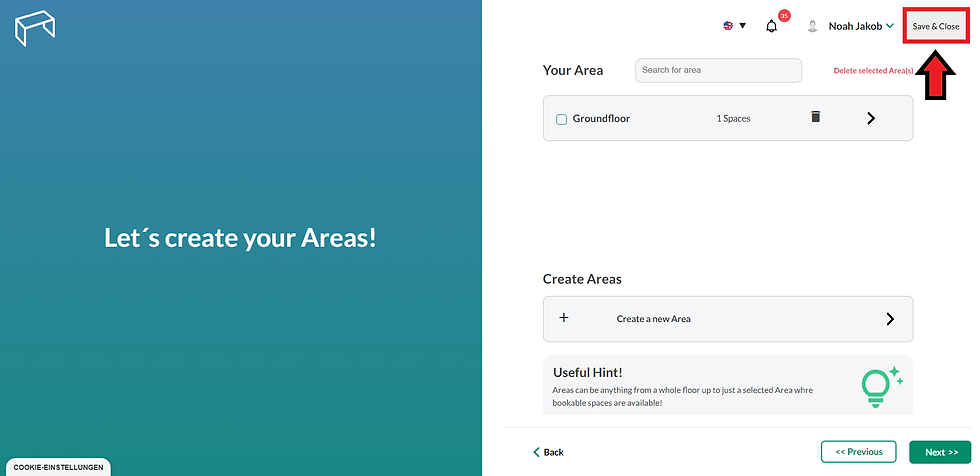
Deleting a space in DeskManager is a straightforward process. To remove a space from your properties, follow the steps below:
Start by accessing DeskManager from the dashboard. On the left-hand menu, locate and click on "Properties". From the dropdown menu that appears, select "My properties". You will be redirected to a new page displaying all of your properties.

Locate the specific property that contains the space you wish to delete. At the back of the property name, you will find three dots, indicating a menu. Click on these dots to open the menu options, and then select "Edit".

You will now be on the overview page of the selected property. From here, navigate to "Areas & Spaces". Click on this option to proceed to the Areas page.

On the Areas page, you will see a list of areas associated with the property. Identify and select the specific area that contains the space you want to delete. Click on the area to access its details.

Within the selected area, you will find a list of spaces. Review the list and locate the space or spaces you wish to delete. To select a space, check the box located on the left side of each space.
Once you have chosen the space(s) to delete, locate the prominently displayed button labeled "Delete selected Space(s)" at the top. Click on this button to initiate the deletion process.

A confirmation prompt will appear asking you to verify the deletion. Click "Yes" to proceed with deleting the selected space(s).

Congratulations! You have successfully deleted the desired space(s) from DeskManager. Following these steps ensures that your properties are up to date and accurately reflect your workspace organization.
Comments